Reading how a plugin works is one thing. Doing it on your own photo is another. VelderFlow Experience gives you three tools to find out — free, with no trial period that runs out.
Enter your email address and we'll send you the download link.
Within a few minutes an email arrives with the file VelderFlow-Experience.ccx. Nothing there? Please check your junk mail folder.
The Creative Cloud app takes it from there. Close Photoshop before installing, and the plugin will be waiting when you open it again.
Open a portrait, start the plugin and click “Yes, make a copy”. From there everything is non-destructive: your original photo stays untouched.
You will see a warning when installing — that is expected. Because Experience comes directly from us and not from the Adobe Marketplace, the Creative Cloud app reports that the plugin is from a third party. Click Install to continue. The paid Basic and Pro editions do come from the Marketplace and will not show this notice.
For portraits, not for snapshots. VelderFlow works on images where a face fills the frame. The test: if you can see the texture of the skin at one hundred percent, the face is large enough. On a full-length shot or a group photograph the skin step does nothing, and the final sharpening mostly lifts the surroundings — the result comes out harder rather than better. So try Experience on a portrait, not on a holiday snapshot.
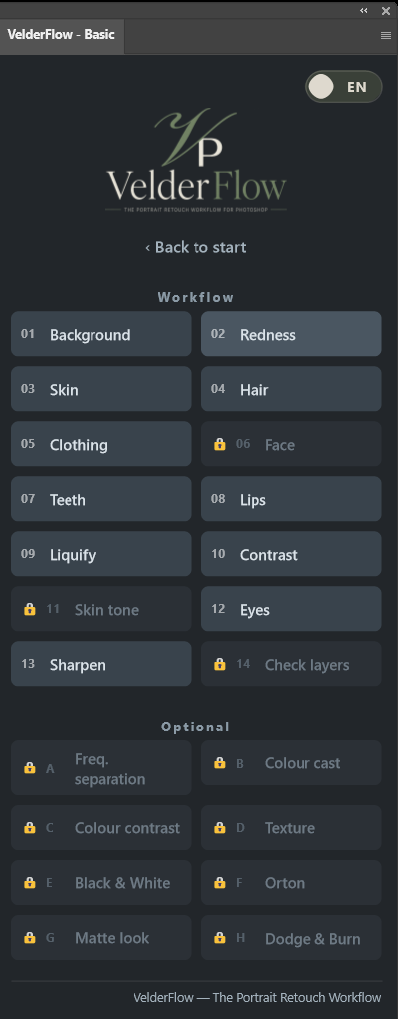
In Experience every tool stays visible. Background, eyes, hair, teeth, lips, frequency separation, Orton, dodge & burn — you see exactly what the full workflow holds, with a padlock in front of it.
To use them, the complete workflow is in Basic and Pro.
The main page has the whole story: the fourteen steps in order, why that order matters, and before-and-after images from real work. Worth reading even if you buy nothing.